Use Case Example
- The customers enter the restaurant and the host seats them at table 1 in the Rose room with a menu and tells them the specials.
- POS Table View: Press on table 1 in Rose room, select Seat Guests.
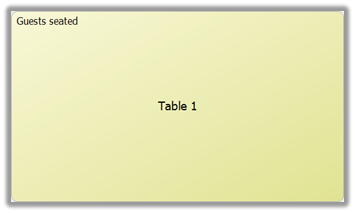
The table goes yellow and the message “Guests seated” is displayed.
- The host tells a waiter that there are guests seated at table 1.
- The waiter takes table 1’s order of drinks, starters and main courses and goes to the POS to put it through.
- POS Table View: double click on table 1 in Rose room
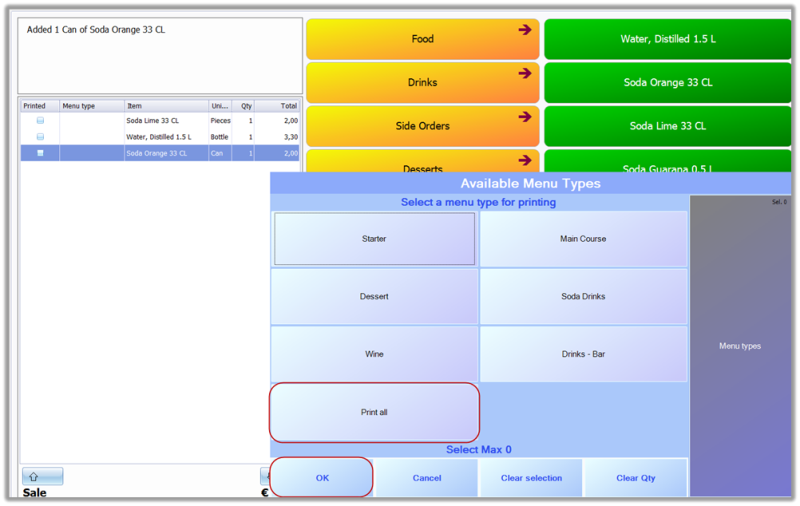
- Select Drinks menu (area 2 Hospitality POS Layout) select the drinks, select Table View and Print all, OK.
- The waiter is taken back to the table view, where they can see the message “Order confirmed” and the time of the order “13:21” displayed on Table 1
 This is done by the waiter so that the drinks order is prepared as soon as possible, hopefully it will be ready as soon as the waiter has finished entering the rest of the order!
- POS Table View: Press and hold or double click on table 1 in Rose room
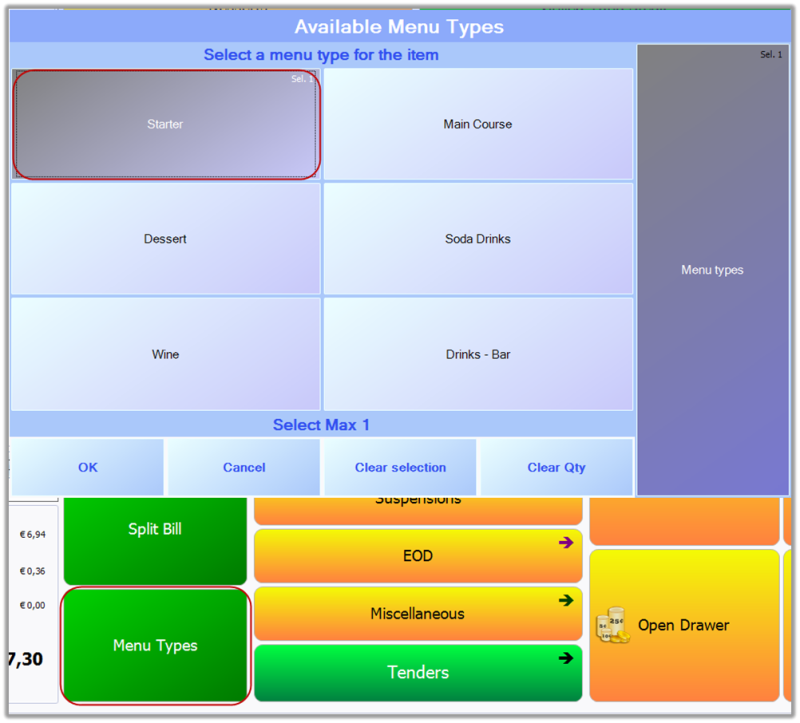
- Select Menu Types (area 3 Hospitality POS Layout), Starter, OK. Select any of the items (in area 2Hospitality POS Layout) and the menu type “Starter” will be assigned to the order. (Even if you choose from the dessert menu). This is displayed as an S in the Menu Type column on the order display panel (in area 1Hospitality POS Layout). Do the same again with the Main Course.
- Select Table View, Starter, OK to send the starter order to the kitchen.
- Table 1 is now yellow with the message “Order printed” and the time “13:27” displayed.
- The waiter checks the order is correct
- Go into table 1, the order display has a column Printed, this displays the orders that have been sent to the kitchen with its checkboxes selected.
- You do not want to send the main course yet; you were just checking the starter order was all correct. Select Table View, Cancel.
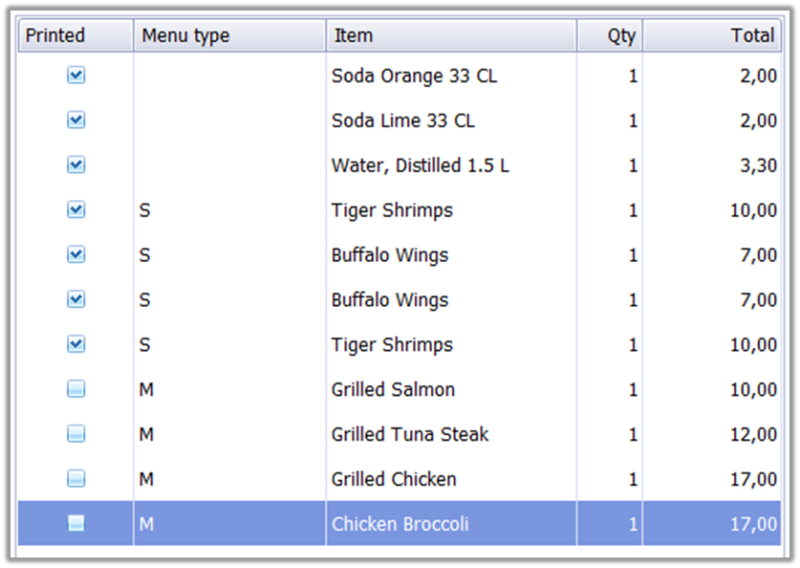
- The waiter sends the last order
- When you have sent all of the orders, including the main course to the kitchen, table will be red and the message displayed is “Order confirmed” with the time of the last order.
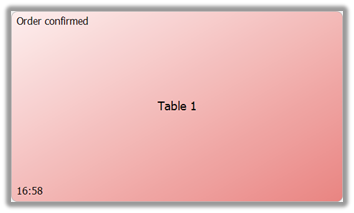
- When you have sent all of the orders, including the main course to the kitchen, table will be red and the message displayed is “Order confirmed” with the time of the last order.
- The waiter takes the payment
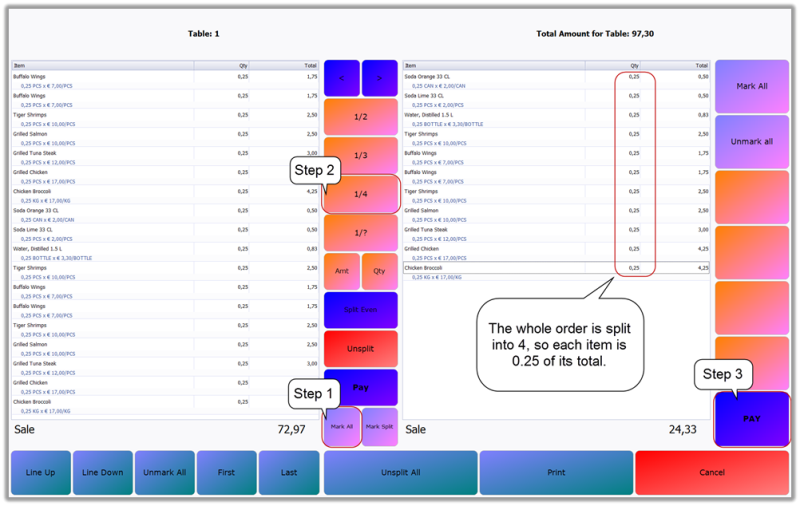
- The customer wants to split the bill into four equal payments, select Split Bill (in area 3Hospitality POS Layout).
- Select Mark All button in the middle column and the Split Even, enter 4 into the numpad or ¼ button.
- Select Pay button in right column and the Order View will display one of the four payments to be made in the receipt and totals panel (in area 1Hospitality POS Layout).
- Select Cash (in area 4Hospitality POS Layout) and enter amount into numpad.
- The POS automatically goes to the Split Bill View, when the last payment is due, select Pay button in the middle column.
- Pay with Credit Card, select Tenders (in area 4Hospitality POS Layout) and select Credit Card and enter card type and amount in the cards dialog.
- The POS automatically goes to the Table View and the table is green displaying the message “Available.
 The most common way to split a bill is that each customer pays for what they consume. This is done by highlighting the lines on the split payment view and selecting the > button to move them into the other view. When all the items have been moved, press Pay button and finish the payment in the order/receipt view.
